I love to photograph the outdoors. Dreamy natural light is my best friend. Can you relate? I bet, like me, you’ve also had those times when the light just doesn’t seem to want to cooperate and you think the friendship is over! Raise your hand if you’ve been there…
Reflections, glare, not enough light, too much light!
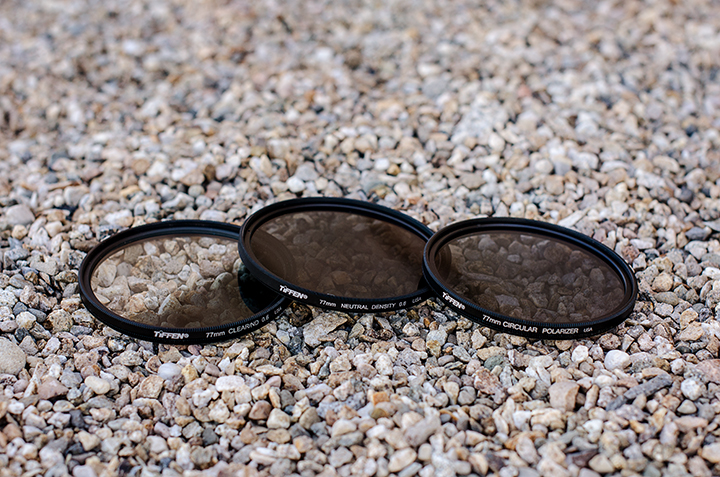
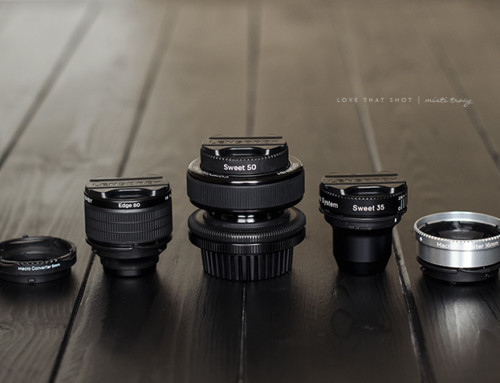
There is one essential tool that can help with many of the lighting situations you face as an outdoor photographer, especially those of us who love to photograph landscapes and waterfalls, and that is a filter. Filters come in many types and sizes, but I’d like to introduce you to Tiffen’s Digital Light Control Kit. I’ve found that this kit includes three of the basic filters needed to get you started: neutral density, graduated neutral density, and polarizer.
Disclosure: This post may contain affiliate links where we earn a small commission at no additional cost to you. We only feature products we use and would recommend to our friends.
The Neutral Density (ND) Filter reduces the amount of light that comes into your lens, allowing you to use slower shutter speeds to achieve movement in your photos. This is especially helpful when you want to capture the smooth flowing water in a seascape or waterfall.
The Graduated Neutral Density Filter works similarly to the ND filter in reducing the light entering the lens, but only on half of the image. This is great for landscape shots when you want to balance the sky exposure with the rest of the landscape.
And finally, the Polarizer Filter removes glare from reflective surfaces like water and glass. This filter also improves color saturation, so I love using it for not only shots with reflective water, but also my landscapes for bluer skies and greener grass.
Now for some example shots! Compare the two images below. The first, I shot using the ND and Polarizing filters (also processed in Camera RAW and Photoshop). In the second photo, no filter was used. Do you see the significant difference in the water in these two shots? In the first photo, you can see smooth, flowing water with no glare closest to the camera. That’s the filters in action! In my opinion, using these filters is the difference between a snapshot and an artistically shot photograph.
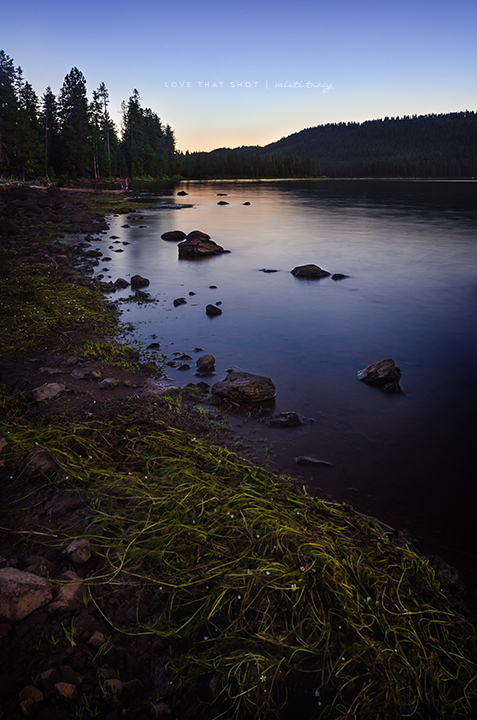
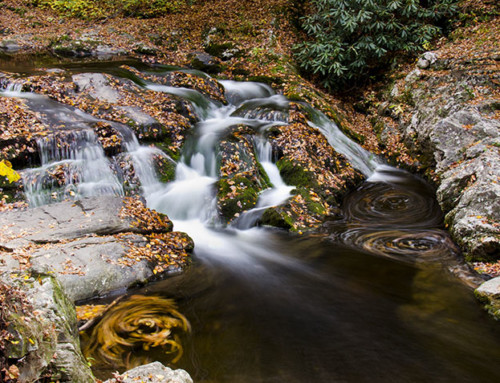
Nikon D7000 | 18-55mm lens at 18mm | f/22 | 5 sec | ISO 100
Polarizing and ND Filter (Processed in Camera RAW & Photoshop)
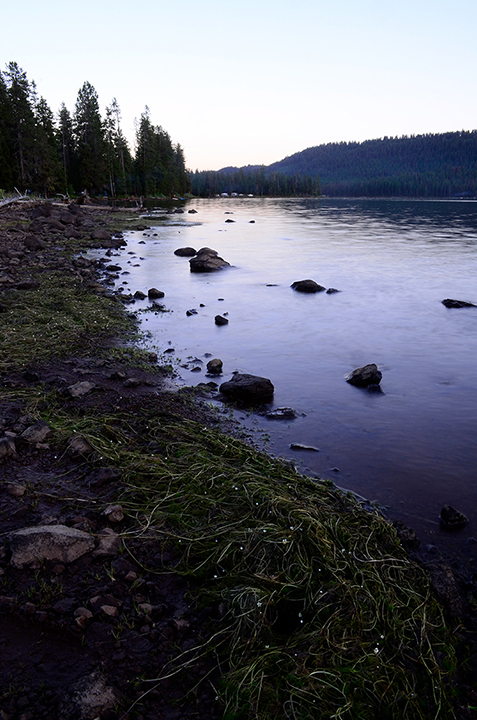
Nikon D7000 | 18-55mm lens at 18mm | f/22 | .77 sec | ISO 100
NO Filter | Unedited
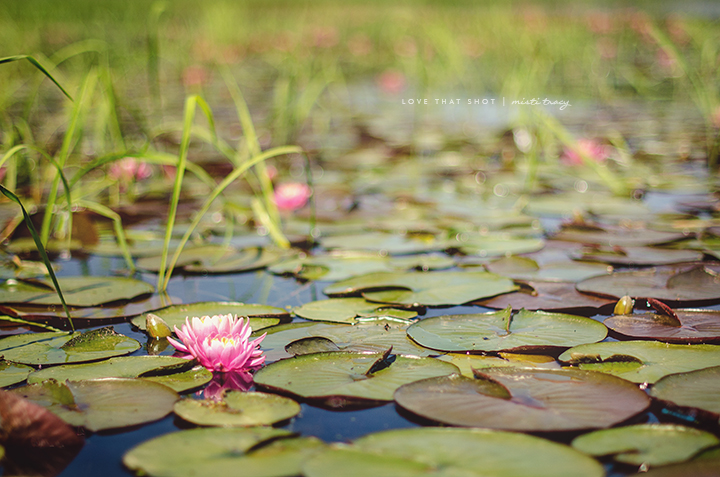
Larger view of the more artistic shot using the neutral density and polarizing filters:
Here are a couple more examples showing the effect of the polarizing filter. Don’t you just love being able to see through the water… no glare!
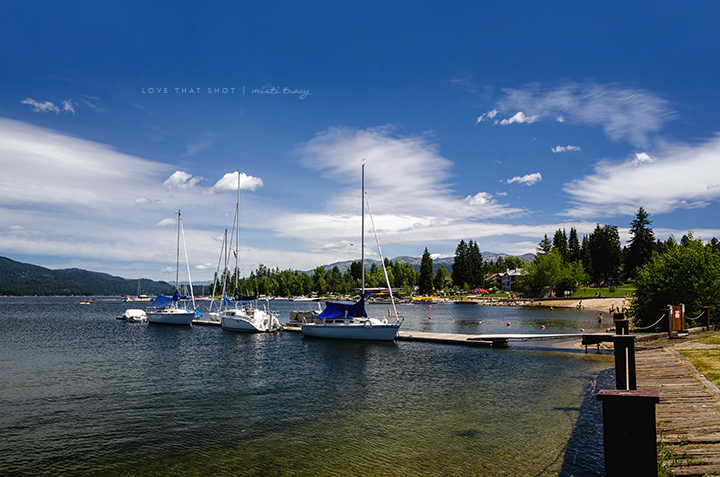
Nikon D7000 | 18-55mm lens at 18mm | f/11 | 1/100 sec | ISO 200
Polarizing Filter
Nikon D7000 | 50mm lens | f/1.4 | 1/4000 sec | ISO 200
Polarizing Filter
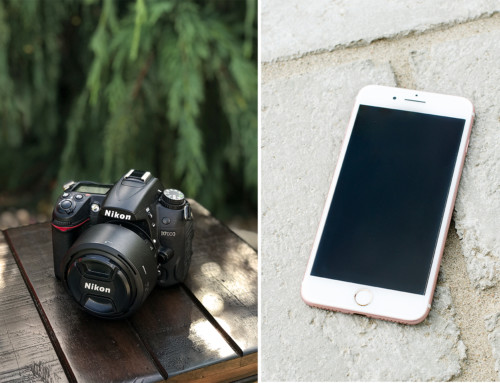
One drawback to filters is that they are made to fit specific sized lenses. For example, my 50mm lens takes a 58mm sized filter, and my 18-55mm lens takes a 52mm filter, etc. If I was to buy a filter to fit each of my lenses, that could get quite expensive. The solution… step-up rings. These are a much more affordable option (approx. $10-20 each), which allows you to purchase the larger filter size and adapt them to fit each of your lenses. Here’s a tip… purchase a larger filter even if you don’t have a lens to fit it quite yet. This way, in the future when you upgrade to a larger lens, you won’t have to upgrade your filters, too! I purchased a step-up ring for each of my lenses… a 58mm-77mm and a 52mm-77mm.
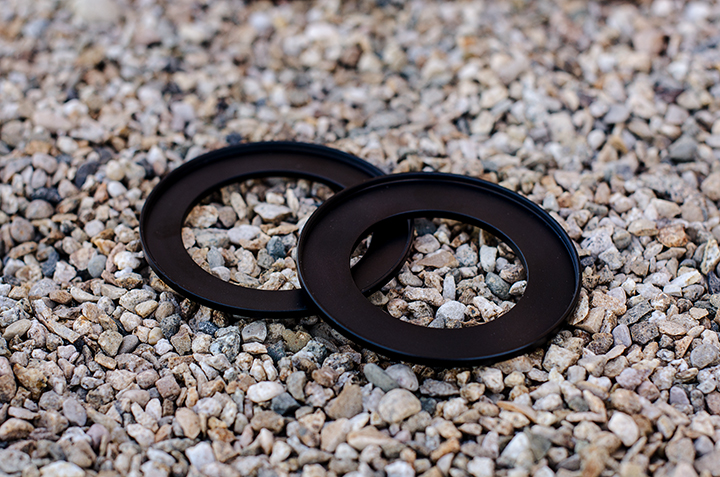
Step-up rings shown: 58mm-77mm and 52mm-77mm
A good quality filter doesn’t have to cost an arm and a leg, but you do want one that won’t reduce the professional grade quality of glass you have on your lens. I’ve found that Tiffen, a leading manufacturer in imaging accessories, makes great quality and very affordable filters. This Digital Light Control Kit includes all three filters (ND, Graduated ND, and Polarizer), plus a padded nylon carrying pouch.
Thanks for reading my review! Do you use filters in your photography? Let me know how you like using them in the comments below…


Leave A Comment