The #1 challenge among those starting out in photography is getting a sharp picture with good focus. If this sounds like you, don’t worry, you’re not alone! We recently surveyed 105 of our very own Love that Shot audience members, and the results? Nine out of ten beginners said their main struggle is, “FOCUS, FOCUS, FOCUS!” Yes, that’s an exact quote!
How you hold your camera is very important to the focus of your photos. A firm grip in the right places on your camera helps stabilize it and reduces out-of-focus, blurry photos caused by shaky hands! Moose Peterson, an award-winning wildlife photographer, author, and educator, teaches…
“Basic handholding is an essential tool EVERY photographer must have not only in their camera bag, but use all the time, correctly!” ―Moose Peterson
We couldn’t agree more! So, the next time you feel the need to contort yourself into one of the following poses… (go ahead, giggle a bit! I don’t mind.)

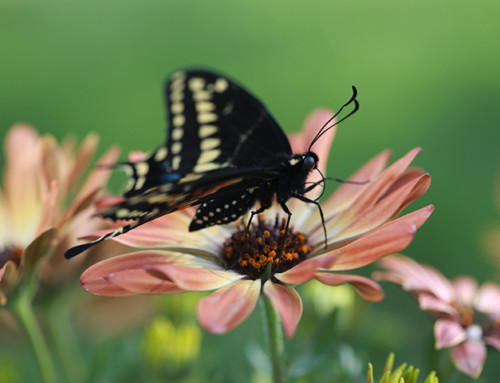
Just remember… with proper handholding, you’re more likely to capture those elusive tack-sharp images you’ve been chasing after!
4 Simple Steps for Proper Handholding:
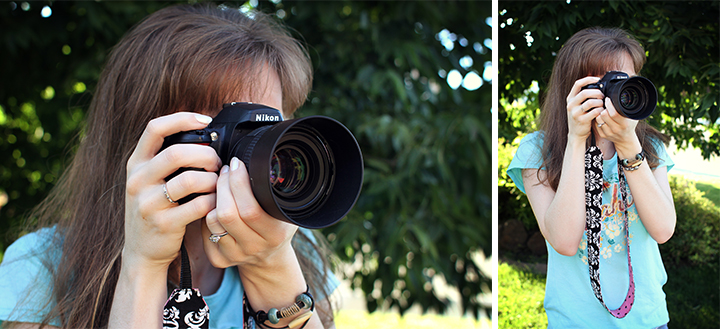
- Take your right hand and place it on the right side of the camera, with your pointer finger on the shutter button, your three fingers curled around the grip and your thumb resting on the inside, or backside of the camera.
- Place your left hand under the camera or under the lens. This balances the weight of the camera and gives you more stability.
- To help stabilize the camera even more, tuck your elbows in tight to your sides.
- Take a deep breath just before you press the shutter button. Hold your breath while you take your photo, then release and breathe!
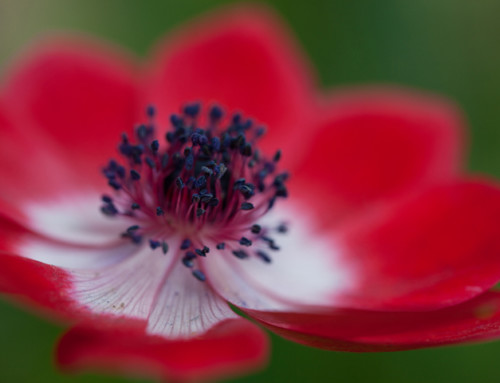
That’s it, now you’re ready to capture those tack sharp photos like a boss!


Leave A Comment