 The project, a Photo Album Scrapbook. The theme, 180 Days. And the artist behind this brilliant idea is Stacy Julian, leader in the scrapbooking industry and the visionary founder of Big Picture Classes. She is a passionate and sought-after speaker, trainer and author, regularly presenting across the nation and abroad, including Japan, Australia and Europe. She has authored four books and given television appearances including the Discovery Channel’s Home Matters and the PBS series More than Memories. Stacy was the founding editor of Simple Scrapbooks Magazine, and is a certified professional teacher with the Craft and Hobby Association. If you’ve ever had the privilege of hearing Stacy speak, you know how inspiring she can be! So let’s dive in…

I asked Stacy to share with us the idea behind her photo album project:
The album is called 180 Days and is a photo-a-day and question-of-the-week approach to documenting both the everyday and the extraordinary aspects of life for our kids. It’s the ease of a photo album matched with the meaning of a scrapbook. This is scrapbooking for busy moms.
And that it definitely is! I’m not a mom myself, but I can see the benefit of this style of scrapbooking. From the minute I first heard about Stacy’s album, I was dreaming up ways I could adapt this style of scrapbooking to my own life. Stacy shares how she creates this 180 Days photo album scrapbook to commemorate her son’s senior year in high school. But what do you do if you don’t have a high school senior, or even children yet? No problem, Stacy will share a few ideas on how this photo album style of scrapbooking can be adapted for any year of school your child may be in, or any other theme you can dream up. I’ll also be sharing a project of my own a little later.
But for now, let’s get back to the details of Stacy’s 180 Days project:
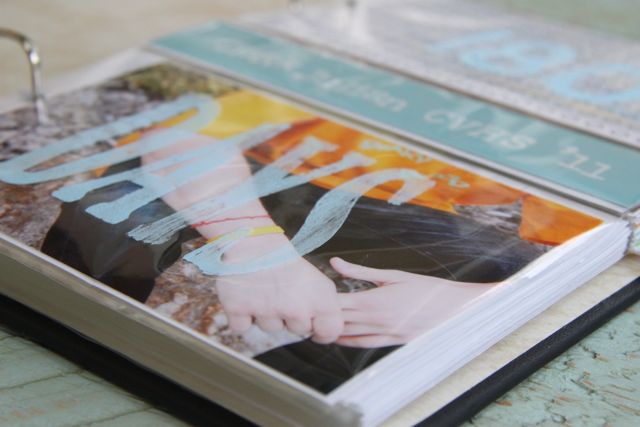
As the title suggests, there really are 180 days of school before graduation–all you need to do is take a photo on each of these days. You can and should enlist your teen to help you. These photos will not need to be cropped or arranged in any special way–this is not your typical decorative scrapbook.
All you need to do is to keep your album and a stack of post-it-notes close at hand. After you snap your daily photo, make a note of it on a post-it and stick this post-it to one photo sleeve in your album. Once or twice a month, upload your digital images to your favorite online printing company, and have them printed. When you get them back, slip them into your album using the post-it notes as a guide.
Simple!
Note that this album is only for school days—you get weekends and vacations off. Since there are 200 photo sleeves and only 180 days of school, there are a few extras sleeves that I have designated for holidays, spring break, etc…
Now, you’re probably thinking, “This sounds great, how do I start?” So let’s get into the materials required to create this album:
ONE.
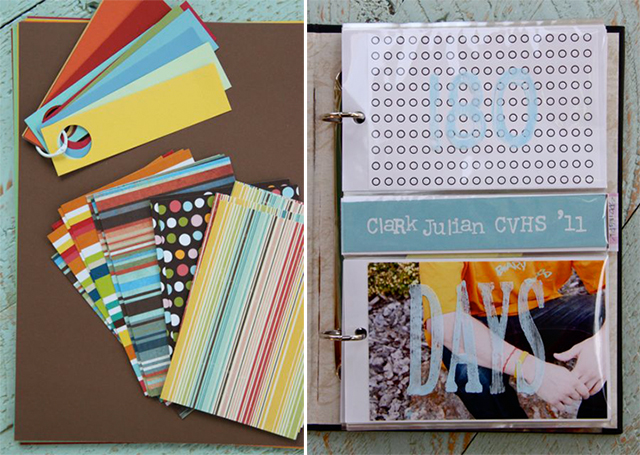
An inexpensive 2-up photo album that is designed to hold 200 photos. Most of these albums feature a narrow strip/sleeve designed for labeling your photos. We will use this strip/journaling area for a weekly Q&A (we will also use this strip for our title, some quotes here and there and for labeling of months, etc).
TWO.
Three or four sheets of two-sided 12×12 pattern paper. Cut these sheets into 4×6 blocks and then find 9 coordinating colors of cardstock (one for each month during the school year.) I considered doing my son’s book in his school colors and then opted (big surprise) for a broader range of colors! The strips on the swatch ring were simply part of my organization/design process—not needed! You can pre-cut your cardstock for use in your journaling strips (keep reading for more info!)
TIP: I pre-cut my monthly slips and used rub-ons to mark the months. I have slipped these into my album already!
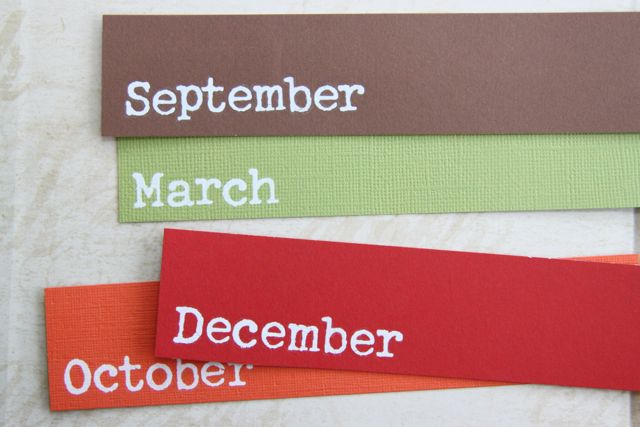
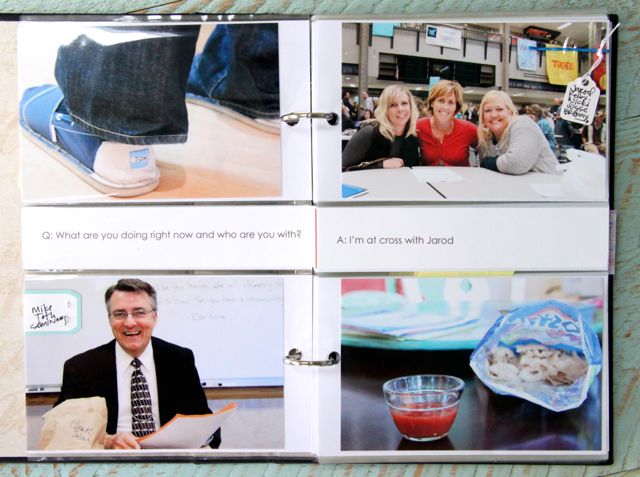
Journaling strips will also be used to record a weekly Q&A (I’ll text a question to my son each week and record his answer back). I have already brainstormed a list of questions, but you’ll want to ask questions that are specific to your child and their interests. Some ideas to get you started might be:
- Which class did you most enjoy today, why?
- What are you most looking forward to?
- What is your favorite hobby or pastime?
- Most played song on your iPod this week?
- Proudest moment this year?
- Have you done anything crazy this week? If so, what?
I’m also using these rub-ons to occasionally note which “day” it is on our countdown from 180 to ZERO (Graduation).
Now for the creative twist! Up to this point we have the makings of a typical photo album…it wouldn’t be scrapbooking if there weren’t words involved, and Stacy has a great idea on how to capture your child’s personality and character. You’ll create a small snap-shot in time…literally!
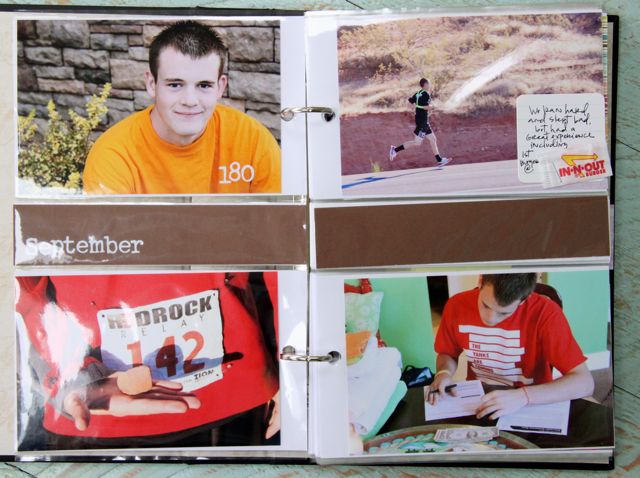
Once a week, you need to ask your senior a question. I have put a reminder on my phone, so I won’t forget! You can text, call or just ask the question and then note your teen’s reply. Then type these questions and answers up on the narrow strips/journaling sleeves in your album. There are 37 weeks of school—so here again we have extra strips in our album, that I have designated for labeling the months (September through June) with a few quotes thrown in.
Sending a quick text and typing up their responses will be a wonderful way to capture bits and pieces of their life to accompany your photos!
For those of you who have settled into your P52 or P365 projects for the year, you won’t find this next step too crazy. But for the rest of you, you may be a bit overwhelmed at the thought of taking a photo every day on top of the bazillion other things you do in a school year. Stacy shares a few tips and thoughts on how to lighten the load:
At this point some of you are probably thinking, a photo a day, is she crazy? I won’t answer the crazy part, but I will say that you can take a photo a day–it really is easy, once you get into the habit. Ideally, you’ll get your teen to help you—this means you can send them to school (sometimes) with a small digital camera or suggest that they use the camera on their phone if they have one. You can also purchase disposable cameras and have your child use those. You can also enlist the help of other parents with seniors to join in this project with you. That way you can share photos among the group.
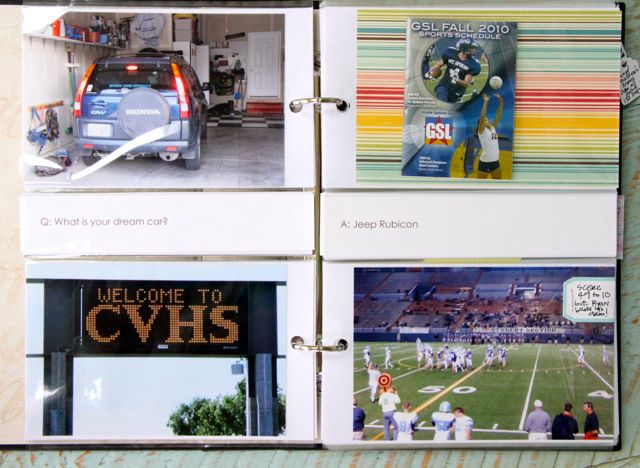
While we definitely want to take pictures of our kids, the most interesting albums will have LOTS of photos of their daily life. Here’s a short list of the kinds of photos that will be really fun to look back on…and remember to get in close and photograph the details.
- car (outside, inside, license plate, mileage, gas tank, parked in the school parking lot)
- bedroom (clean, messy, closet, nightstand, walls, etc.)
- clothes (on their bodies, on the floor, T-shirts, jeans, sock drawer, etc…)
- food (favorite candy bar, chips, soda, meals, half-empty cereal bowl – you get the idea, right?)
- school stuff (back pack, books, homework, grades, locker, gym stuff, sports equipment)
- electronics (phone, computer, iPod, alarm clock, etc…)
You will naturally want to photograph school-related events and people, and get plenty of pictures of them with friends and family members—however, the more you practice snapping pictures of the details of their daily life, the more opportunities you will see. There’s a good chance you’ll have MORE photos than you actually need!
And that’s it. This is a great way to celebrate this time in your child’s life, and it can be a TON of fun, too! The trick to getting all of this done is to work ahead, and build your album as you go. It’s not a good idea to gather everything to put together later. That’s just setting yourself up for failure.
Now, while it may not be the start of a traditional school year, it is the beginning of a new calendar year. There are so many different ways this photo album style of scrapbooking can be adapted to fit any theme. Here are a few ideas I’ve come up with to get those creative juices flowing, if they haven’t already!
- Family Recipes (use a non-fabric covered album, and fill with your family’s tried and true recipe favorites)
- Family Vacation (fill with photos and memories – ask each member of the family to share their favorite experiences and include their responses in the journaling areas)
- Project 52 or Project 365 (fill the album with your favorite shots from the year. *use a smaller album for the P52)
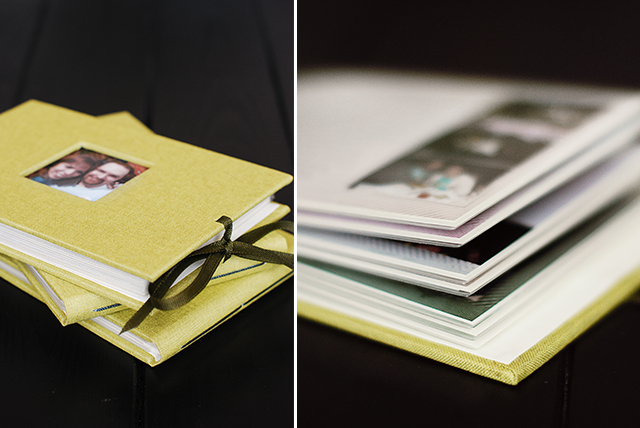
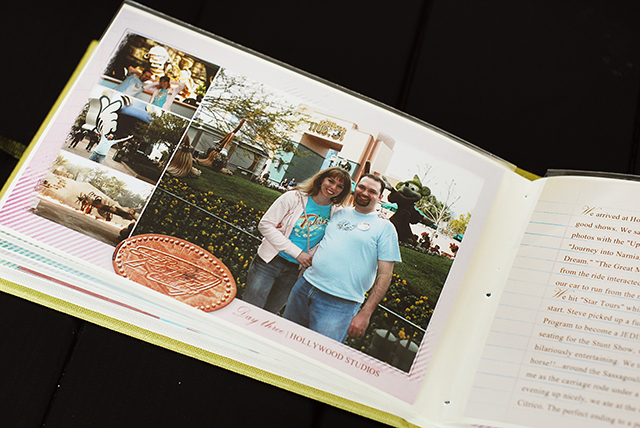
I’d like to share with you how I adapted Stacy’s photo album project to create a scrapbook of memories from my honeymoon in Florida. I’ve had a TON of fun putting this together. Thank you so much, Stacy, for this wonderful idea!
There are so many possibilities! What will you create? We’d love to hear your ideas, leave us a comment below…






Love your honeymoon album. 🙂 Glad I stumbled on this!
Hi, This is a great article! I’m stuck and looking for inspiration. I’m a mother of three; Garrett – senior in high school, Mikhala – sophomore in high school, and Treavor – 6th grade. My immediate issue is my senior. I’m like 11 years behind in his photo album and he graduates in May 2015. My plan was to put all the photos into a slide show and show it at his grad. party. However, he made a comment about me doing a better job on his scrapbook than he could. IF HE ONLY KNEW! Now the pressure is on (it’s the end of October). I’ve decided to focus on high school for right now, but don’t even know where to start. I’m not real big on scrap-booking, but know I’m going to have to bite the bullet here. Any suggestions? Thanks!
Rebecca, thanks for your comment! I would just take it one step at a time. Don’t try to “eat the elephant all at once!” as they say! Look at the photos and memories you have, and choose where to start depending on what you get more excited about. That will help keep your momentum going. I find that the easiest way to organize things is find an album, fill it with the photos first, that way you can budget out space for the important events, then go back in and start filling in the memories. Write in your spare time… I know, as limited as that may be! 🙂 …like during breakfast in the morning, when you’re waiting to pick the kids up from school, or waiting for them at practice. If you spend a minute here and there, you’ll be surprised at how much you can get done! Good luck, and most of all… have FUN! That’s what it’s all about. 🙂
[…] Love that Shot – The Photo Album Scrapbook with Stacy Julian. The project, a Photo Album Scrapbook. […]