It was the 4th of July, and Steve and I were spending the weekend with his family out of state. After an afternoon of family activities, I sat down next to Steve on the sofa and pulled out my laptop. I began editing a few photos I took the night before…when all of a sudden my little niece, who is five, plopped down beside me and asked, “Whatcha doin’?”
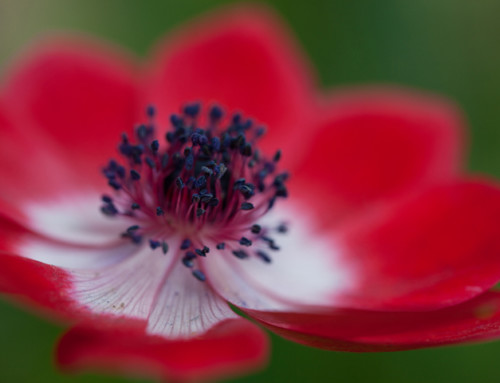
I explained a little bit about editing in the most basic language I could think of, showing her a few photos SOOC (straight out of camera) and some with edits. It was so cute to see the wheels turning in her little head as she tried to grasp the concepts that so many of us adults can often find confusing at times. After a few minutes of oooing and aaaawing over the photos, she took a look at the one shown below and said, without any hesitation, “I like it! …even if it’s kind of blurry!” I chuckled, and Steve, overhearing the whole conversation, had to hold back his laughter.

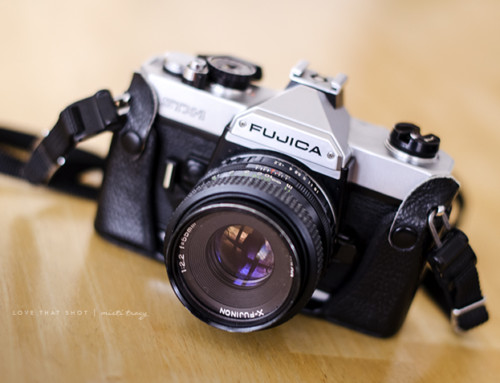
Photo Specs: F 2.2 | 1/40 sec | ISO 200
You see, it’s supposed to be blurry! When shooting a photo, you want to maximize the potential of the depth of field in your photo in order to make your subject or focal point stand out from the background.
So what is Depth of Field?
Depth of Field is the distance between the nearest and farthest object in a photo. Whether it’s shallow (creating a blurry background), or deep (everything is crisp), is determined by the aperture, or f-stop (these terms can be used interchangeably). The aperture is the opening in the camera lens that allows light to pass through. The important thing to remember about aperture is that the smaller the number, the wider the aperture becomes (it’s kinda like fractions). Once you have that down, you’re set!







Leave A Comment