Spring and summer offer huge potential to shoot stunning flower portraits. These portraits can be endless! You’ll find flowers in your garden, on your tabletop, on the side of the road, in the woods, or maybe with a quick visit to your local flower nursery.
Determining how you take pictures of flowers depends on the subject matter. Flower photos can vary from a single bloom in a vase to a panoramic shot of a field of wildflowers. The type of photo you take will influence the photography technique you use. There are a wealth of ways to photograph nature, from close-ups to wider views. These photos will take on a different look by changing your angle or view, and will even depend on the time of day you shoot.
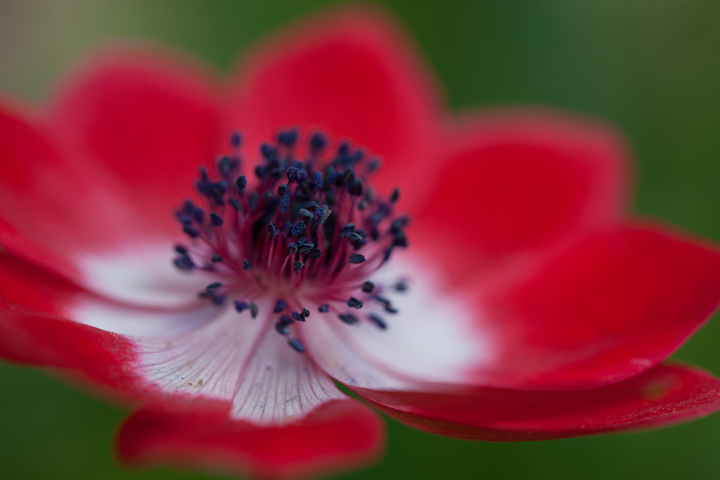
1 | Framing the Shot
Many photographers who are just starting out in flower photography tend to compose their shots horizontally. This may be because it’s easier to hold the camera, rather than turning it on its side to produce a vertical composition. However, vertical images are more often used in magazines and books. So if your goal is to be published, you should make an effort to shoot vertical. But why not shoot both formats, since horizontal photos often fit better on blogs and social media!

2 | Angle of View and Thinking Creatively
A picture of a poppy in a field isn’t very interesting on its own. But what if you took the picture lying down, looking up through the poppies? Or what if you took a macro shot of a single poppy?
As you become more comfortable with flower photography, you may begin to tell just by looking at your subject which composition will work best. As a rough guide for those who are just starting out, plants that are wider than they are tall tend to work best as horizontal shots, and those that are taller than they are wide tend to work best as vertical shots. This is a rough guide – keep looking through the viewfinder as you move the camera to find the best composition. Think creatively, beyond the straightforward shot we typically see. Think in terms of shape, color, and form. Don’t just concentrate on the flower itself – the leaves, stem, and other parts of the plant can be just as interesting. What about the hairs on a poppy steam glowing with backlight?
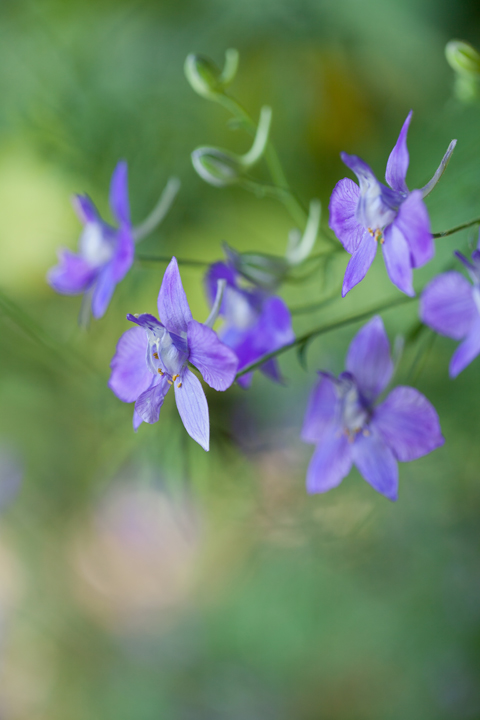
3 | Portraits vs. Pictures
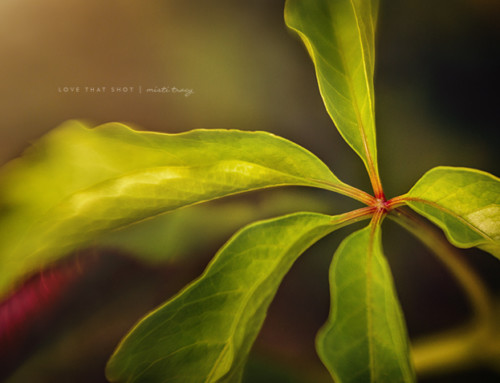
Consider getting close to a single flower to isolate details. Look for color and detail. Decide what it is that makes the flower unique. What makes this flower different from the rest? By focusing on a plant’s character – possibly the sweep of a leaf or the point of a petal – you’ll be able to create an image that’s more of a portrait rather than a simple picture. Portraits of people and animals often look more impressive when they’ve been taken from eye-level with the subject. The same can be applied to flower photography.
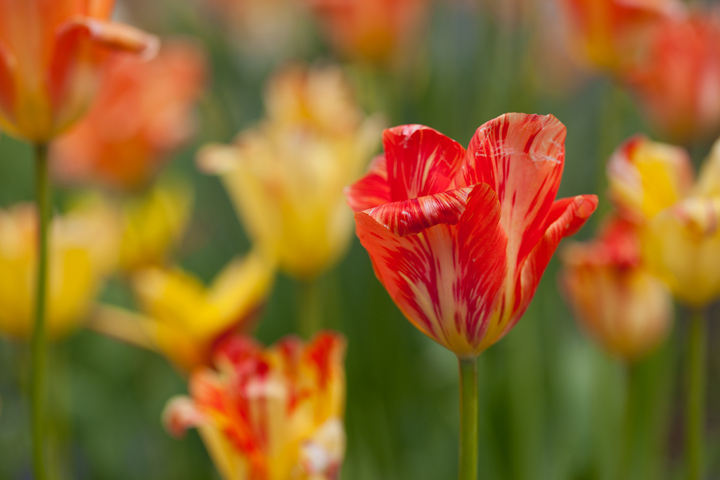
4 | Isolation!
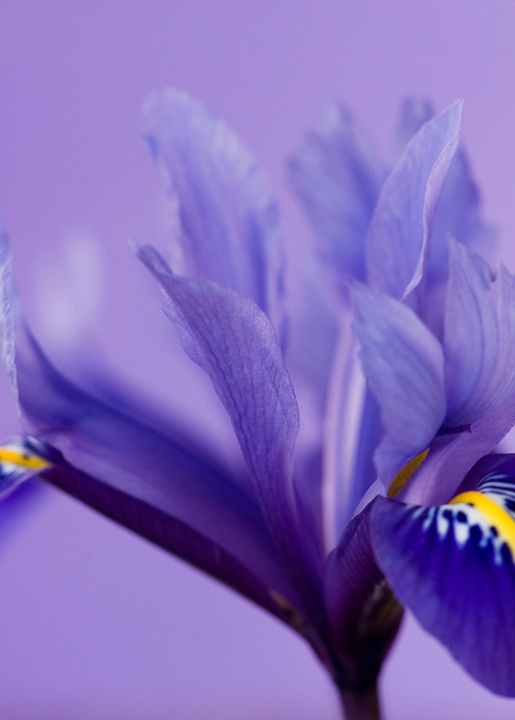
If you can’t isolate a plant from distracting background clutter, an easy solution is to place a sheet of colored paper behind your flower. A white background will give it a botanical feel, while a colored sheet can be used to complement the color of the flower.
So how about it, are you ready to get out there and photograph some flowers this Spring?
Also, check out part 2 where I share more on my favorite topic of flower photography!




Connie, I love your flower photos. I like to take photos of flowers and nature too.
Love all of Connies articles!
Great job Connie! Love the article! So proud of you!
Connie, I loved the article, you kept it simple, but got your point across! I need to learn how to use the different parts of my camera, and not always use the auto button! Flower photography is my favorite too, it is almost an addiction!
Connie, I loved the article, you kept it simple, and you got your point across!