Photographer Chase Jarvis nails it by saying “The best camera is the one that’s with you!” The essence of capturing the moment is having a device at hand. You may not have your DSRL or point and shoot with you on a daily basis, but I dare say that most of us always have our mobile phone with us. So, let’s start making memories and capture the moments as they’re unfolding!
Below, I will share with you my tips on how to take great pictures with your smartphone. I will also give you a brief introduction to my #1 Favorite Photo App―the built-in camera I use in my phone photography.
When I began smartphone photography back in 2009, I used my Nokia 3208C. Already, I was using the photos from the Nokia 2.0 megapixel camera to capture photos of my family and friends for my blog:

Photos taken with the 2.0 megapixel Nokia 3208
Smartphone cameras have undergone an enormous amount of development recently. The resolution on an average smartphone camera today varies from 4 to 13 megapixels―the record being 41 megapixels with Nokia’s Lumia 1020. [1]
This means that the quality of the camera allows you to both print and share high resolution photos on blogs and social media. I currently use an iPhone 4S with an 8 megapixel camera. If you compare the images above to the images you see below, you’ll see the development that has taken place over the last 4 years.

Photos taken with the 8.0 megapixel camera in iPhone 4S
1| A Great Smartphone Photo Starts with Composition
What is the main focus or subject of your picture? Is there a story to be told? Experiment with different angles and perspectives. Use negative space or leading lines to draw the eye to your subject. You might try capturing just a part of your subject in the frame. Use your creativity, along with these compositional principles, and make sure you use light to your advantage. These are the building blocks to creating dynamic smartphone photography.
2 | Understanding the Limitations | Zoom
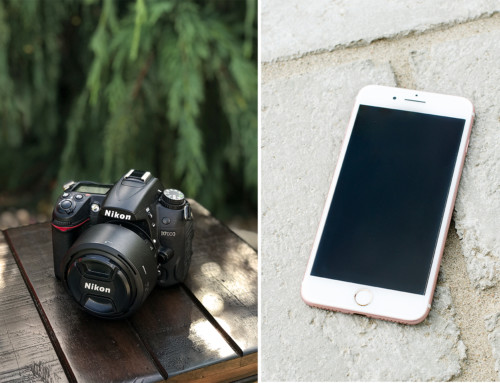
There are some limitations to consider with smartphone photography. Due to the characteristics of a smartphone, the camera has what’s called digital zoom, which is different from the optical zoom on your DSLR camera lens. When using digital zoom, the resolution of the images created is significantly reduced (think, enlarging a photo, rather than zooming in on a subject). Even if your smartphone camera has a zoom feature, I recommend you keep the use of it to a minimum. Instead, you might try using an external lens specifically made for smartphone photography. I use the Olloclip external lens for my macro photos.
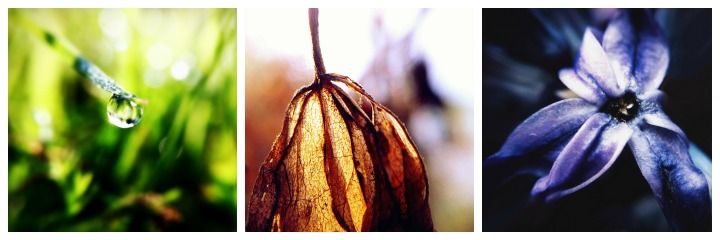
Photos taken with an Olloclip external lens
3 | Understanding the Limitations | Flash
Another feature, aside from the zoom, that I would be wary of using is the flash. The quality of the built-in flash in smartphone cameras is rather poor―I would much rather use natural light. The downside of indoor smartphone photography is that it produces lower quality photos in low light conditions―a good and strong external light source is necessary when taking pictures with your smartphone indoors.
4 | Playing with Exposure
Many smartphone cameras have a feature that allows you to set the focus and adjust the exposure by touching the screen. I use this feature all the time―being able to adjust the focus and exposure enhances your ability to control the light and to create shadows, thereby affecting the mood in your photo. These features enable you to both overexpose and underexpose your photos, like I have done in the images below. I focused directly on the flame in the image to the left, creating a warm and cozy mood by underexposing the photo. The images in the middle and to the right are both overexposed, creating negative space and airiness to the leaf in the middle, and magnifying the sun flares in the image to the right.

5 | Upgrade to a Camera App
It may be overwhelming to navigate through the multitude of smartphone photo apps available today. I have found that my #1 favorite camera replacement application is Camera+. The built-in camera features make this application a pearl! The camera in Camera+ enables you to lock the focus, the exposure, and the white balance of your image. It allows you to select the quality of the photos from optimal (1200 x 1200), to normal and high. You can also select a grid view and enable the horizon-view feature―I appreciate the latter a lot when taking pictures by the sea.
“The Lab” was added to Camera+ in its latest update. Now it is possible to straighten and rotate the image, to adjust the contrast, saturation, temperature, exposure, highlight and shadow, among other things. Before the Lab, I needed to use other applications for sharpening or desaturating an image, but now I can easily settle down with just one application, that enables a seamless editing flow. Besides the Lab, Picture+ has 54 filters―color effects. You can add multiple effects and layer them on top of one another. Moreover, Picture+ allows you to adjust the strength of the effects.
Camera+ is available for iOS / iPhone and iPad for $ 1.99.
I have found an inspiring fellowship of photographers and photo enthusiasts on Instagram. As you start clicking with your smartphone camera, you will find out that sharing your images is as much fun as taking them!
[Take Action] Share Your Smartphone Photos With Us
The Love That Shot community is doing a Project 365, taking one photo each day. We’re sharing our photos on Instagram (#LTS365) and/or Flickr. Michelle’s tutorial here will show you how to join Instagram. Look us up and “follow” us, we’d love to see your photos!
Love that Shot Founders:
@mistitracy
@mytwoseasons










I just got a smartphone and appreciate these tips very much – thanks, Nina!
[…] Below, I will share with you my tips on how to take great pictures with your smartphone. I will also give you a brief introduction to my #1 Favorite Photo App―the built-in camera I use in my phone photography. […]